Plumbing
Plumbing Services: Installation & Repair
The Plumbing Installation Process
Our team of plumbers in Valparaiso doesn’t merely install plumbing systems; they install comfort, convenience, and efficiency. Plumbing installation, whether it’s a new sink, water heater, or repiping an entire house, should be entrusted to the professionals. Our team is trained to handle the job in a timely manner, preventing future plumbing problems like leaky faucets or worn-out water heaters.
During the plumbing installation process, we offer free estimates for our services. Our plumbing needs assessment is thorough, ensuring that the installed systems will serve your house or business for years to come. No matter if you’re replacing an old toilet or installing new equipment, the cost of our service is always competitive and transparent.
You can schedule an appointment with us at any time.
Expert Solutions for Your Plumbing Problems
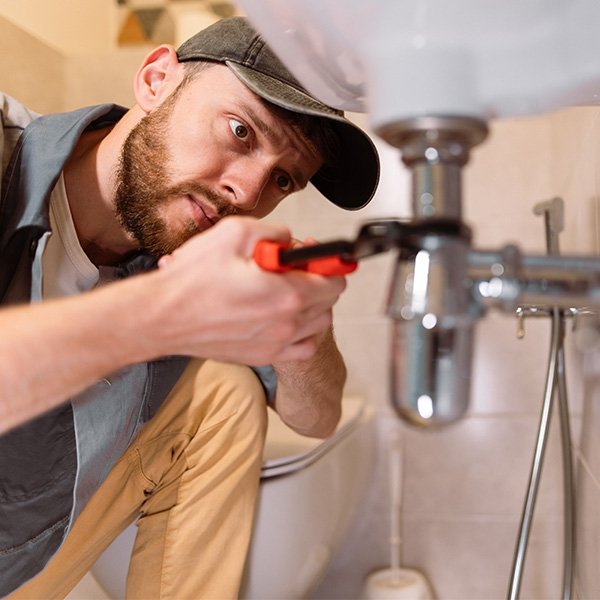
There’s never a good time for a plumbing emergency, but when disaster strikes, you need reliable emergency services just a call away. We’re committed to offering superior plumbing repair services 24/7. Our team in Valparaiso, IN and nearby areas is licensed, bonded, and insured, giving you peace of mind knowing that you’re protected during the repair process. Our professional plumbing services include:
- Drain repair
- Drain Cleaning
- Hydro jetting
- Rooter services
- Tunnel drain replacement
- Fixture repair & replacement
- Toilet repair & installation
- Faucet repair & installation
- Shower repair & installation
- Leak detection
- Camera inspections
- Pipe repair
- Burst pipe repair
- Repiping
- Sewer line repair & replacement
- Trenchless sewer repair
- Slab leak detection & repair
- Water heaters
- Tankless water heaters
- Water filtration
- Water softeners
- Garbage disposals
- Sump pumps
- Gas lines
- Gas leak detection & repair
- Plumbing winterization
Prolonging the Life of Your Systems
At Regional Plumbing, Heating & Air, we believe that preventative maintenance is key to avoiding costly repairs and replacements. Regular plumbing maintenance is an investment in your home or business that saves you money in the long run.
Our plumbing maintenance package includes a thorough inspection and tuning up of your plumbing systems. We’ll check pipes, drains, faucets, and more to detect any potential issues before they escalate. Don’t wait for a full-blown plumbing emergency before scheduling your maintenance. Here are a few of our maintenance services:
Contact the Experts
Whether you’re facing plumbing issues, planning a new installation, or looking to schedule maintenance, look no further than Regional Plumbing, Heating & Air. Our friendly and knowledgeable team is always ready to serve you.
At Regional Plumbing, Heating & Air, we’re not just a team of professional plumbers; we’re your neighbors. We’re dedicated to keeping homes and businesses throughout Valparaiso and the surrounding area comfortable and running smoothly.
We provide professional, efficient services tailored to your unique needs and strive to exceed your expectations at every turn. So the next time you need top-notch plumbing services in Valparaiso, IN, remember that Regional Plumbing, Heating & Air is only one call away.

Your Connection for Premium Plumbing Services in Valparaiso, IN
Since 1998, we’ve been dedicated to serving our customers’ plumbing, heating, and air conditioning needs with extreme professionalism. As a customer-focused company, we go above and beyond to exceed expectations in every project we handle.
Our service extends beyond fixing pipes and drains, sump pump. We also specialize in heating and air conditioning services, ensuring your home remains comfortable all year round. We are committed to providing transparent service with our free upfront estimates, making us the top choice for many homeowners and businesses in the following communities:
Our Frequently Asked Questions
We’re Dedicated to Customer Satisfaction
24 Hour Emergency Services
Background Checked & Google Guaranteed
100+ Years of Experience
Licensed, Bonded, & Insured
Home Advisor Screened & Approved
Free Estimates on New Installations